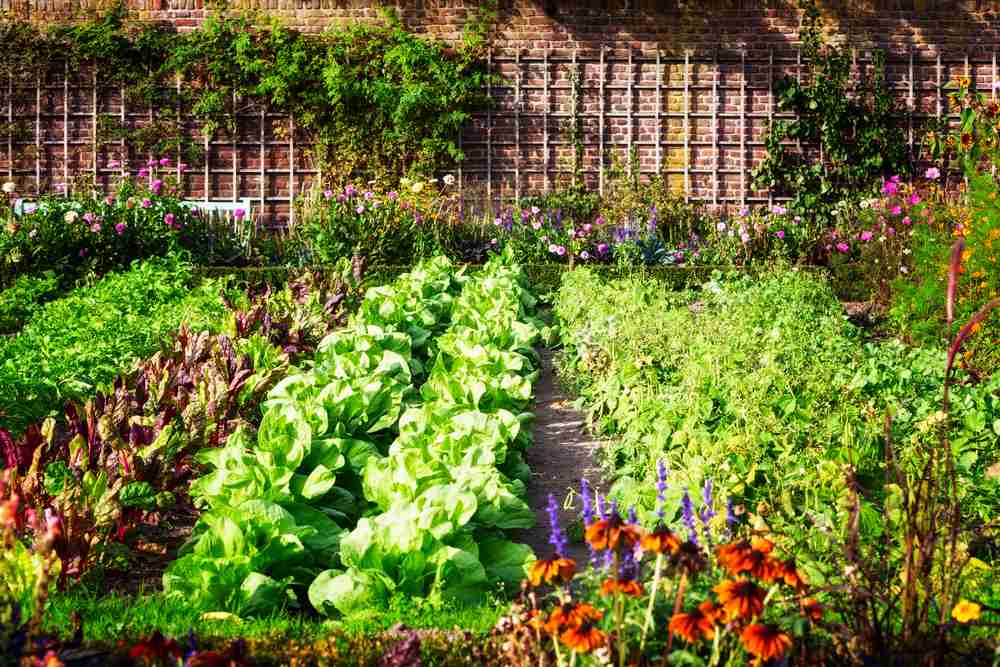
Do you eat plenty of vegetables but still feel like your diet is lacking something? It’s not just you – it’s a sad reality that many of our vegetables are lacking in nutrients due to modern farming practices.
In the span of 60 years, fruits and vegetables have lost an average of 16% of their calcium, 27% of vitamin C, and 48% of their iron levels.
The tomato is one of the fruits that has experienced the largest drop in nutrients: 26% calcium, 57% vitamin B1, 59% vitamin C.
Instead of focusing on the health of the soil and the quality of the produce, many farmers prioritize profits over nutritional value.
Even if they look and smell good, they may still be lacking in essential nutrients that are crucial for good health.
But that’s not all! Even if some nutrients are present in the soil, they may be unavailable for plants to absorb and use for growth and development.
The quality of the soil also determines the taste, texture, and appearance of vegetables.
So, don’t miss out on the full potential of your favorite vegetables – learn how to care about the soil and grow nutrient dense vegetables!
- Soil Testing
- What to do if my soil contains heavy metals or other contaminants?
- Should I do a soil test before or after amending soil?
- What liming material should I choose to raise the pH of acidic soil?
- What kind of sulfur should I use to lower the pH of the soil?
- Organic Matter
- Organic Fertilizers
- Mulching
- Mulching materials:
- Living mulches
- The best low growing, living mulches:
- Cover Cropping
- Cover crops that will be killed over the winter in UK:
- What to do with cover crops after winter?
- How to kill cover crops that are not killed by winter in an organic way?
- Crop Rotation
- What are the rules of crop rotation?
- Companion Planting
- What are the rules of companion planting?
- Soil disturbance
- No dig gardening rules:
- Order a garden design that prioritizes soil health and sustainability:
- Conclusion
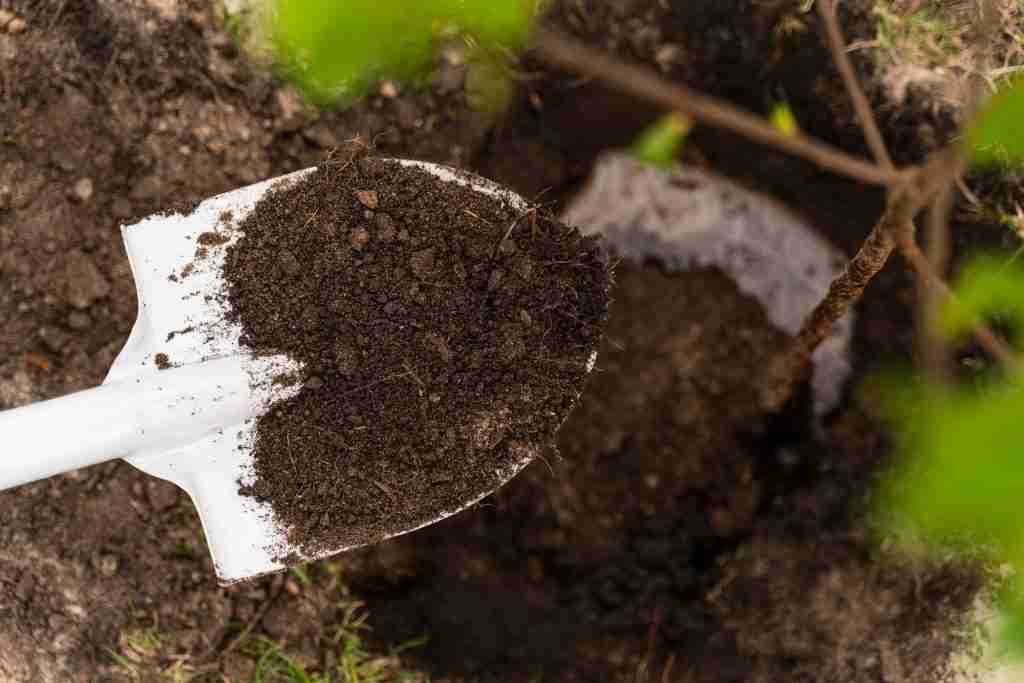
Soil Testing
Before planting, it is important to test the soil to determine its pH level and nutrient content. You can purchase a soil test kit from a local garden center or send a sample to a lab for testing. A soil pH level of 6.0 to 7.0 is ideal for most vegetables. If your soil is too acidic, add lime, and if it is too alkaline, add sulfur. Additionally, you can add organic matter to the soil to improve its nutrient content.
Some essential plant nutrients are only available within a certain range of soil pH. For example, iron is most available to plants when the soil pH is between 5.0 and 6.5. If the soil pH is too high or too low, the iron in the soil becomes less available to the plants, even if it is present in the soil.
Soil tests can also detect the presence of contaminants such as heavy metals, pesticides, and other chemicals. If your soil is contaminated, you may need to take steps to remediate the soil or avoid growing certain crops.
What to do if my soil contains heavy metals or other contaminants?
1. Avoid using contaminated soil: Do not use the contaminated soil for growing food, plant grass or ornamental species that are not intended for consumption. Consider planting edible crops in raised beds with clean soil or using container gardening.
2. Remove contaminated soil: In some cases, it may be necessary to remove the contaminated soil and replace it with clean soil. This is especially true if the contamination is severe or widespread.
3. Amend soil pH: The bioavailability of heavy metals can be influenced by soil pH. Adding amendments such as lime or organic matter can help to reduce heavy metal toxicity in soil.
4. Use phytoremediation: Some plants have the ability to absorb and detoxify heavy metals. Consider planting hyperaccumulators, such as sunflowers, Indian mustard, Ferns such as Pteris vittata, Willow Trees, Poplar Trees or Hemp in the contaminated area to help reduce the levels of heavy metals in the soil.
- Seek professional help: In severe cases of contamination, it may be necessary to hire a professional to remediate the soil.
- Always wash any fruits or vegetables before you eat them. Be sure to wash your hands and any tools or equipment used in the soil.
Should I do a soil test before or after amending soil?
It’s best to perform a soil test before adding compost or any other soil amendment. This will give you a baseline reading of your soil’s nutrient levels and pH, allowing you to make adjustments as necessary. After you’ve made any necessary adjustments, you can then add compost or other amendments to further improve the soil’s fertility and structure.
Another option is to mix the compost into the soil and then wait a few weeks before performing the soil test. This allows the compost to break down and release its nutrients, giving you a more accurate reading of the soil’s nutrient levels.
What liming material should I choose to raise the pH of acidic soil?
The answer depends on a few factors, including your soil’s current pH level and the type of plants you’re growing. Here are some common liming materials and when to use them:
1. Agricultural lime: This is the most commonly used liming material, made from crushed limestone. It contains calcium and magnesium, which are important nutrients for plant growth, and can help raise the pH of acidic soil. Agricultural lime is a good choice for most soil types and is readily available at garden centers and agricultural supply stores.
2. Dolomite lime: Similar to agricultural lime, dolomite lime is made from crushed dolomitic limestone and contains both calcium and magnesium. However, it has a higher magnesium content than agricultural lime, making it a good choice for soils that are deficient in magnesium.
3. Hydrated lime: This is a fast-acting liming material that can quickly raise the pH of very acidic soil. However, it is highly alkaline and can be harmful to plants if not used properly. Hydrated lime is best used sparingly and under the guidance of a gardening expert or agricultural extension office.
4. Calcium carbonate: This is another type of limestone that can be used as a liming material. It contains calcium but does not contain magnesium. It is a good choice for soils that are deficient in calcium.
Performing a soil test is a great way to determine your soil’s pH and nutrient levels and can help guide your choice of liming material. Additionally, it’s always a good idea to consult with a gardening expert for personalized advice.
What kind of sulfur should I use to lower the pH of the soil?
For vegetable gardens, it’s generally recommended to use elemental sulfur as a soil amendment. This type of sulfur is commonly available at garden centers and online, and it’s effective in lowering soil pH levels over time.
Elemental sulfur comes in several forms, including powder, pellets, and prills. Powdered sulfur is the most common form and can be applied to the soil surface or mixed into the soil. Pelletized sulfur is a more convenient option and can be spread using a fertilizer spreader. Prilled sulfur is similar to pellets but is smaller in size and dissolves more quickly in the soil.
It’s important to note that elemental sulfur can take several months to become effective in lowering soil pH levels, so you may not see immediate results.
Organic Matter
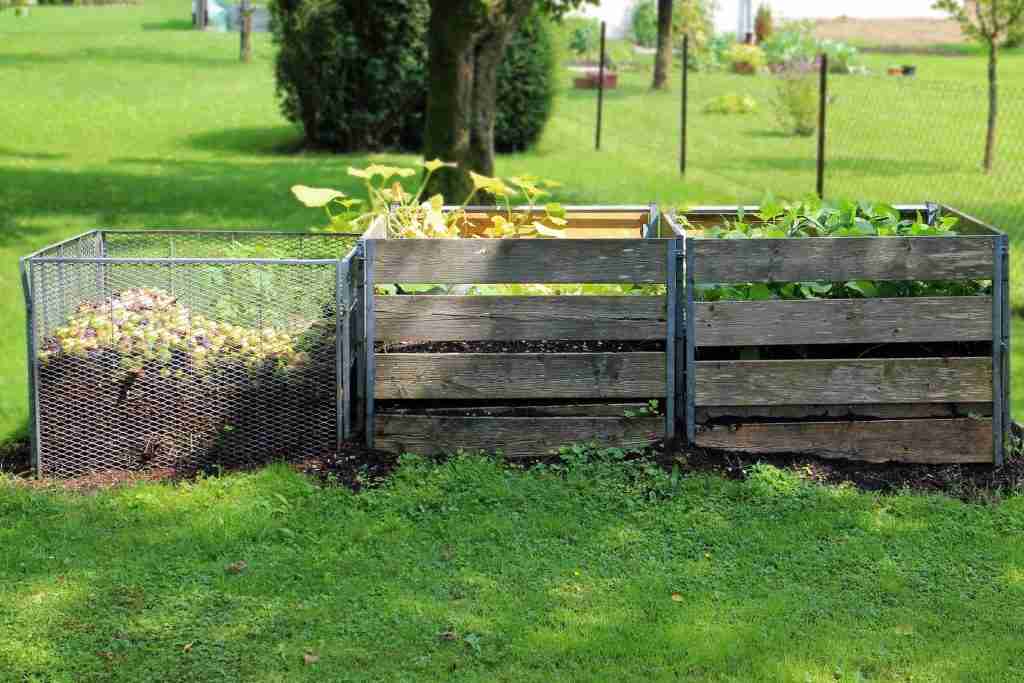
Adding organic matter, such as compost or well-rotted manure, can significantly improve soil quality. It has several benefits for your vegetable garden, including:
- Improving soil structure by creating pore space for better root growth, drainage, and aeration.
- Enhancing soil fertility by providing a slow-release source of essential nutrients, like nitrogen, phosphorus, and potassium.
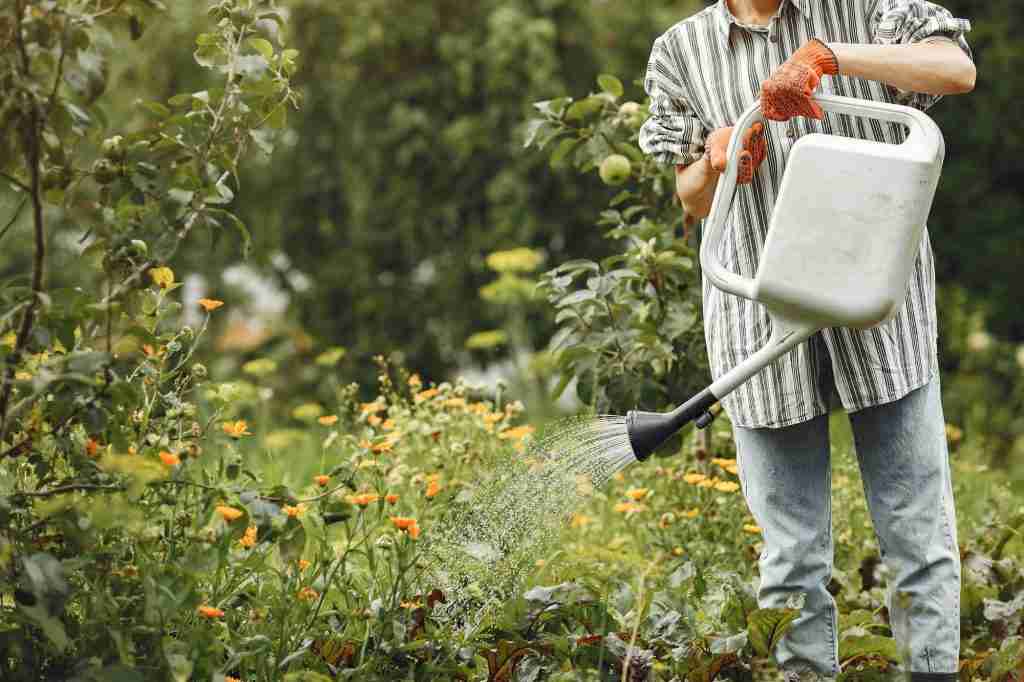
- Improving water retention in the soil, reducing the need for frequent watering and helping plants survive during dry periods.
- Suppressing soil-borne diseases by supporting beneficial microorganisms that protect against harmful pathogens.
- Supporting beneficial organisms, such as earthworms, which help improve soil structure and fertility.
By adding organic matter to your garden, you can support healthy and productive soil that can help increase crop yields and reduce the need for synthetic fertilizers and pesticides.
Organic Fertilizers
Organic fertilizers can be a great way to provide essential nutrients to your vegetable garden without using synthetic chemicals. Organic fertilizers are derived from natural sources, such as animal manure, compost, bone meal, and fish emulsion, and they are often slow-release, which means that they provide a steady supply of nutrients to plants over time.
When it comes to how often to apply organic fertilizers, it depends on the type of fertilizer you are using and the specific needs of your vegetables. Here are some general guidelines:
1. Compost: Compost is a natural, slow-release fertilizer that is rich in nutrients and organic matter. It can be added to the soil before planting or used as a top dressing around existing plants. Ideally, you should apply compost at least once a year, but you can also add it more frequently if your soil is particularly depleted.
2. Manure: Manure is another natural fertilizer that is rich in nutrients. However, it should be used with caution, as it can contain harmful pathogens if not properly aged or composted. If you are using fresh manure, it should be applied at least three months before planting. Aged or composted manure can be applied more frequently, usually once or twice a year.
3. Fish Emulsion: Fish emulsion is a liquid fertilizer made from fish waste that is high in nitrogen, phosphorus, and potassium. It is a fast-acting fertilizer that can be applied 2 times a week to every two weeks during the growing season, especially for leafy green vegetables
4. Bone Meal: Bone meal is a slow-release fertilizer that is high in phosphorus and calcium. It is typically applied once a year, before planting or during the growing season.
5. Blood Meal: Blood meal is a fast-acting fertilizer that is high in nitrogen. It can be used to give your vegetables a quick boost of nutrients during the growing season, but should be used sparingly as it can burn plants if applied in excess.
6. Seaweed and kelp meal: Seaweed and kelp meal are slow-release fertilizers. It is recommended to apply seaweed and kelp meal to your vegetable garden at the beginning of the growing season, before planting your vegetables, or as a top dressing throughout the growing season. They are a great source of potassium and other micronutrients.
7. Rock phosphate: Rock phosphate is a slow-release fertilizer made from ground-up rock that is high in phosphorus. In general, rock phosphate can be applied to a vegetable garden once or twice a year.
- It is best to apply it in the fall or winter before planting, so the phosphorus has time to break down and become available to the plants in the spring.
- You can also apply it during the growing season, but be careful not to over-fertilize, as excessive phosphorus can lead to nutrient imbalances and environmental problems.
8. Worm castings: Worm castings are a nutrient-rich soil amendment made from vermicomposting, or composting with worms. They are high in nutrients such as nitrogen, phosphorus, potassium, calcium, and other micronutrients, as well as beneficial microorganisms that can improve soil health and plant growth.
- You can apply them as a top dressing around the base of plants or mix them into the soil before planting. It is recommended to apply 1 to 2 inches of worm castings to the soil surface around each plant every 4 to 6 weeks during the growing season.
- It can also be mixed with other organic fertilizers or amendments, such as compost or rock phosphate, to provide a complete range of nutrients for plants. Additionally, worm castings can be used to make compost tea, which can be used as a foliar spray or soil drench to provide nutrients and beneficial microorganisms to plants.
When using organic fertilizers, it is important to follow the instructions carefully and apply only the recommended amount. Over-fertilizing can lead to nutrient imbalances and can even harm your plants.
It is important to practice good soil management techniques, such as crop rotation, cover cropping, composting, and mulching. By improving soil fertility, water-holding capacity, and nutrient availability, these practices can reduce the need for additional fertilizers.
Mulching
Mulching is another technique that can help you to improve soil quality. Mulch is a layer of organic material that is spread over the soil around the base of plants. It helps to retain moisture, suppress weeds, and improve soil structure. As the mulch breaks down, it adds nutrients to the soil.
Mulching materials:
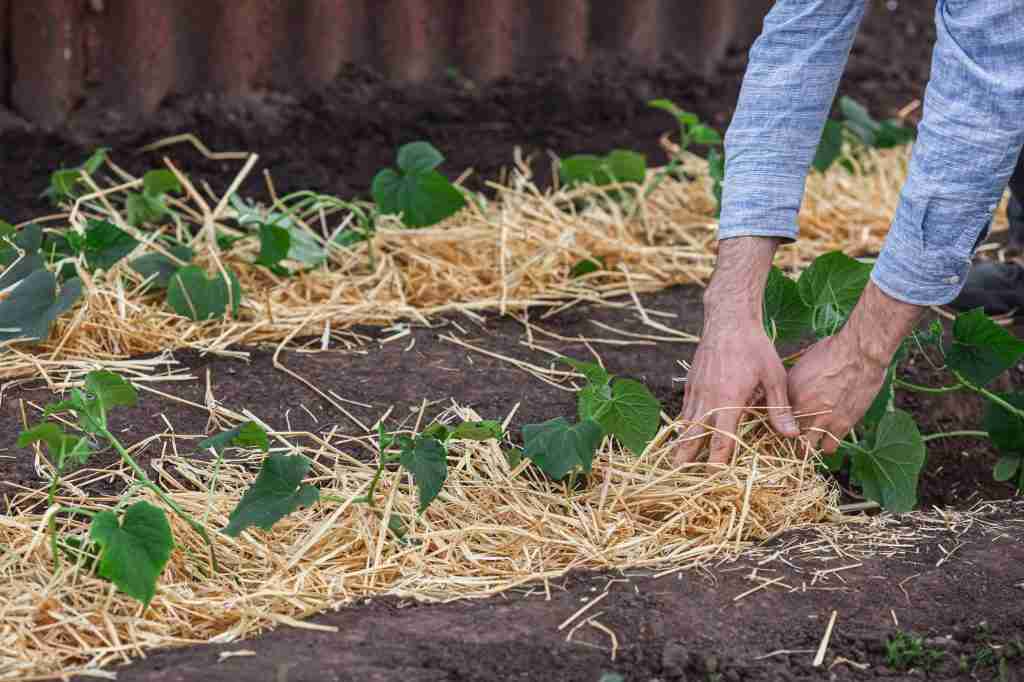
1. Straw: Straw is a popular choice for permaculture gardens as it’s readily available, affordable, and easy to work with. It’s also a good source of carbon for composting and helps to retain moisture in the soil.
2. Hay: Hay is a good source of organic matter and nutrients, making it a great mulch for vegetable gardens and fruit trees. It should be used in thin layers to avoid matting and nitrogen depletion. Hay is made from grasses or other plants that are cut and dried for animal feed, and may contain a variety of seeds. Straw do not contain so many, and you can buy certified weed-free straw.
3. Compost: Compost is an excellent mulching material for permaculture gardens as it provides a rich source of nutrients, microorganisms, and organic matter. However, it should not be used as a top layer on its own, as it can form a crust and lose its value over time. Instead, consider using compost as an under layer and cover it with straw or grass clippings to protect it from drying out or leaching nutrients. This way, you can ensure that your plants receive a steady supply of nutrients while maintaining optimal soil health and fertility.
4. Leaves: Leaves are another excellent choice as they’re abundant in the fall and provide a rich source of organic matter. They’re also effective at suppressing weeds and improving soil structure as they break down.
5. Grass clippings: Grass clippings are a good source of nitrogen and other nutrients, making them an ideal mulch for vegetable gardens and fruit trees. They should be used in thin layers to avoid matting and nitrogen depletion.
6. Wood chips: Wood chips are a good choice for paths and areas around fruit trees and shrubs as they help to retain moisture, suppress weeds, and add organic matter to the soil. In vegetables garden use only to cover paths to avoid nitrogen depletion in the soil.
7. Coffee grounds: Coffee grounds are a good source of nitrogen, phosphorus, and other nutrients, making them an ideal mulch for acid-loving plants like blueberries and azaleas. They also help to suppress weed growth and improve soil structure.
8. Eggshells: Eggshells are a good source of calcium, which is essential for plant growth and development. They can be crushed and used as a mulching material around tomato plants, peppers, and other calcium-loving plants. It can help deter snails and slugs.
9. Spent plants: Don’t let your harvested plants go to waste! Plants that have already served their purpose can still be useful in your garden as mulch. Simply chop up the remaining stems and leaves, and use them as a top layer around your other plants. This not only provides a free source of mulch, but also return the exact same nutrients as the plant took up in the first place.
Living mulches
Living mulch is a gardening technique that involves planting low-growing plants such as clover or legumes directly into the soil to create a continuous cover. This helps protect the soil from erosion, add organic matter to the soil, fix nitrogen, conserve moisture, and suppress weeds. Additionally, it creates a more diverse and natural ecosystem by attracting beneficial insects. This reduces the need for fertilizers and synthetic chemicals, making it an ideal option for organic and permaculture gardeners.
The best low growing, living mulches:
Here are some examples of the best low-growing living mulches for UK gardens:
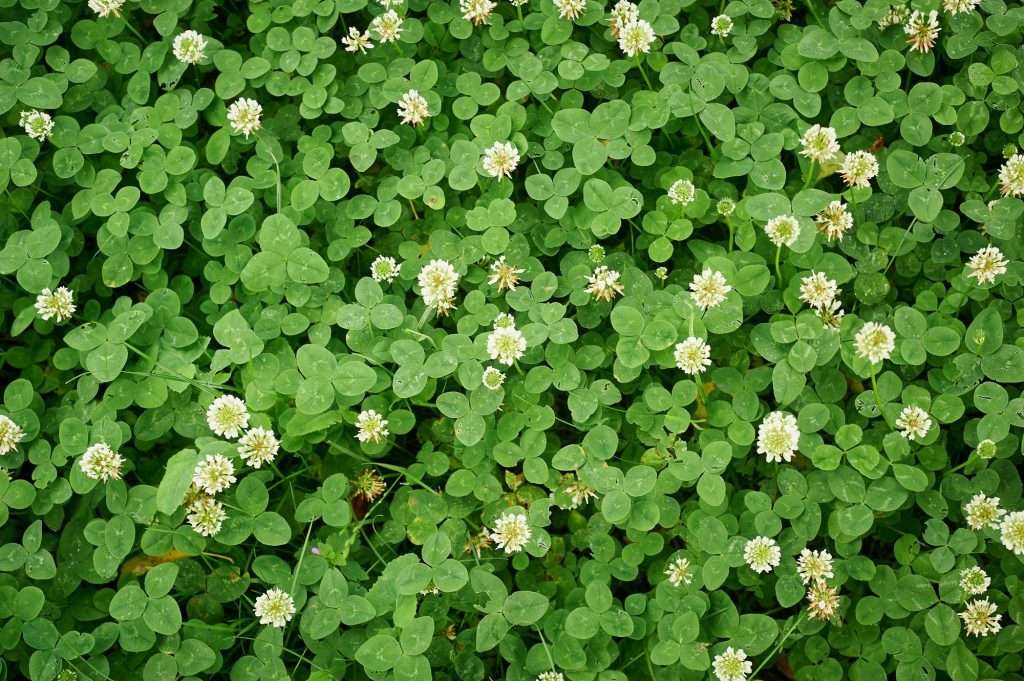
1. White Clover: A common choice for living mulch due to its ability to fix nitrogen and improve soil health. It’s important to choose a variety of white clover that is not invasive, and to make sure it doesn’t take over the vegetable garden.
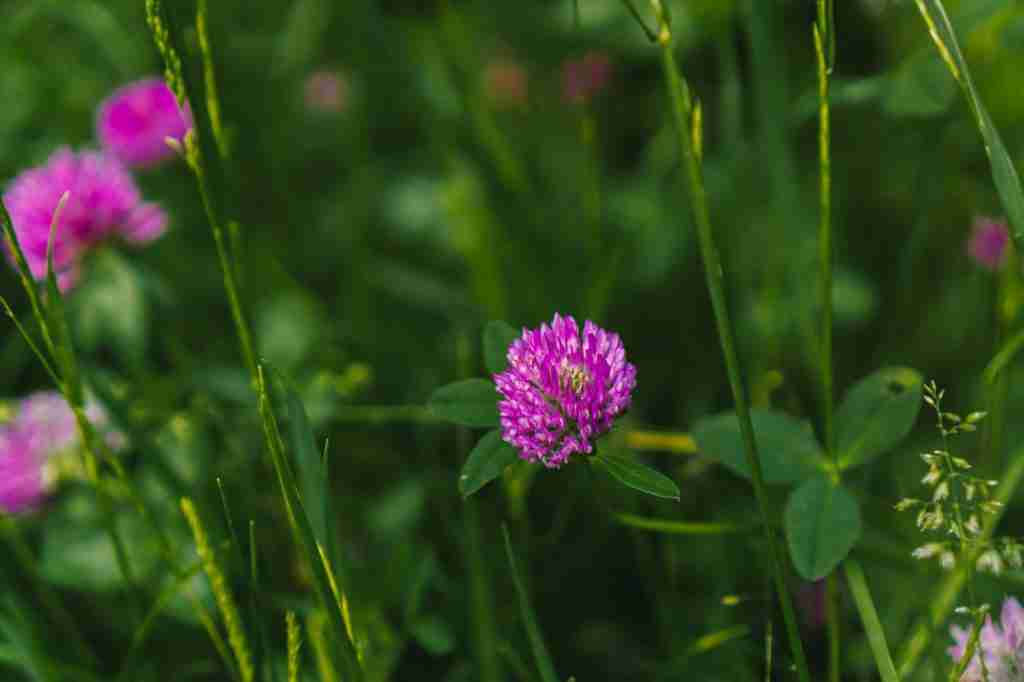
2. Red Clover: Similar to white clover, but has deeper roots, making it more drought-resistant. Regular maintenance may be needed to keep it in check.
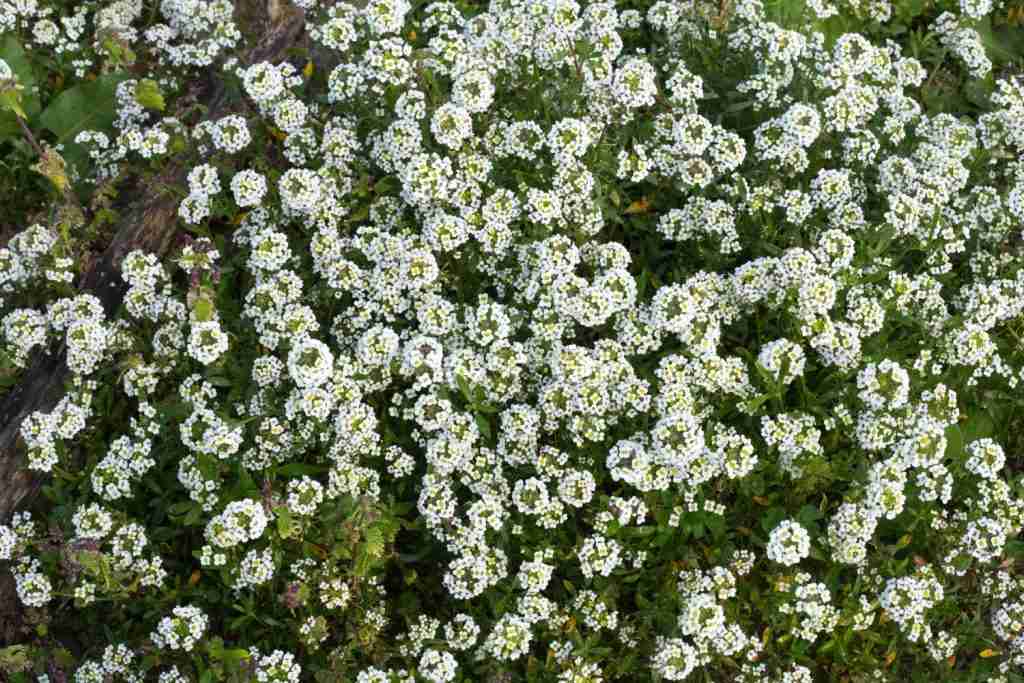
3. Sweet Alyssum: It is a fast growing plant with shallow roots, so it doesn’t compete with vegetables for nutrients and water. It attracts beneficial insects like pollinators, parasitic wasps, hoverflies and lacewings, which help control pests such as aphids. Sweet Alyssum also adds organic matter to the soil and helps retain moisture.

4. Creeping Thyme: A fragrant herb that forms a dense mat, suppressing weeds and adding aesthetic value. It is important to ensure that the thyme is not allowed to grow too tall or dense, as this can create a barrier that may prevent the growth of your vegetables. Additionally, be sure to choose a variety of Creeping Thyme that is suitable for your specific growing conditions and soil type.

5. Chamomile: A low-growing herb that attracts beneficial insects and can help improve soil health. Additionally, chamomile has medicinal properties and can be harvested for tea.
Living mulches can become invasive if they are not properly managed. It is important to choose low-growing plants that are not aggressive and to keep them under control through regular maintenance.
Cover Cropping
Cover cropping is a technique in which plants are grown specifically for the purpose of improving soil health and fertility. Farmers typically grow these crops during periods of the year when the main crops are not in the ground, such as during fallow periods or in between growing seasons. Once grown, the cover crops are either mowed or tilled into the soil, where they decompose, releasing nutrients and organic matter.
By using cover crops, you can prevent soil erosion, enhance soil structure and fertility, suppress weed growth, and provide habitats for beneficial insects and microorganisms. Cover cropping also helps to mitigate the negative effects of climate change by sequestering carbon from the atmosphere and increasing soil organic matter.
Some common cover crop plants include legumes such as clover and beans, grasses such as rye and oats, and brassicas such as mustard and radish. The selection of specific crops depends on factors such as soil type, climate, and the desired benefits for the soil. It is an important technique in permaculture and sustainable agriculture, as it helps to maintain healthy and productive soils over the long term.
Cover crops that will be killed over the winter in UK:
If you are looking for cover crops that will be killed over the UK winter, you might want to consider planting “frost-killed” cover crops. These plants are typically sown in late summer or early fall and are killed by the first hard frost, which releases their nutrients into the soil for the following year’s crops.

1. Buckwheat: Buckwheat is a fast-growing cover crop that can be planted in the summer and killed by the first frost. It’s a good choice for suppressing weeds and adding organic matter to the soil.
2. Oilseed radish: Oilseed radish is a fast-growing brassica cover crop that can be planted in late summer or early fall and will be killed by the first hard frost. It’s a good choice for improving soil structure and suppressing soil-borne pests and diseases.
3. Crimson clover: Crimson clover is a leguminous cover crop that can be planted in the summer and killed by the first hard frost. It can fix nitrogen in the soil and is a good choice for improving soil fertility.
4. Annual ryegrass: Annual ryegrass is a fast-growing grass cover crop that can be planted in late summer or early fall and will be killed by the first hard frost. It’s a good choice for improving soil structure and suppressing weeds.
5. Hairy vetch: Hairy vetch is a leguminous cover crop that can be planted in the summer and killed by the first hard frost. It can fix nitrogen in the soil and is a good choice for improving soil fertility.
6. Winter field beans: Winter field beans are a leguminous cover crop that can be planted in the fall and will be killed by the winter weather. They can fix nitrogen in the soil and are a good choice for improving soil fertility.
7. White mustard: White mustard is a brassica cover crop that can be planted in the summer and killed by the first hard frost. It’s a good choice for suppressing soil-borne pests and diseases and adding organic matter to the soil.
What to do with cover crops after winter?
After a cover crop has been grown, it’s important to manage the biomass before planting the next crop. Here are some steps you can take to use the soil after the cover crops:
1. Terminate the cover crop: Depending on the type of cover crop you grew, you may need to terminate it before planting your next crop. You can do this by mowing or cutting it down, tilling it into the soil, or using a roller crimper to crush the stems.
2. Manage the biomass: Once the cover crop has been terminated, the biomass needs to be managed. You can either leave it on the soil surface as a mulch, incorporate it into the soil, or remove it from the field and add to a compost.
3. Add soil amendments: Then if necessary, you can add soil amendments such as compost, manure, or lime to the soil before planting your next crop.
4. Plant your next crop: Once the soil has been prepared, you can plant your next crop. The cover crop residue will continue to break down and release nutrients into the soil as the new crop grows.
How to kill cover crops that are not killed by winter in an organic way?
If you decide to plant cover crops which are not killed by the winter frost, there are different ways to terminate them. Check the video for more information.
Crop Rotation
Crop rotation is a technique that involves planting different crops in the same area in different years. This helps to prevent soil-borne diseases and pests from building up in the soil, which can lead to nutrient deficiencies in vegetables. Crop rotation also helps to improve soil structure and fertility by allowing different crops to use different nutrients.
What are the rules of crop rotation?
1. Rotate crops from different plant families: Plants in the same family are often susceptible to the same diseases and pests. To reduce the buildup of these problems in the soil, it’s best to rotate crops from different families. For example, rotate tomatoes (in the nightshade family) with beans (in the legume family) or brassicas (in the cabbage family).
2. Avoid planting the same crop in the same place for more than one season: This helps to prevent the buildup of soil-borne diseases and pests. If you grow the same crop in the same spot year after year, the soil will become depleted of nutrients, and pests and diseases that attack that crop will build up in the soil.
3. Incorporate cover crops: Cover crops can help to improve soil health by fixing nitrogen, reducing soil erosion, and adding organic matter. They can also help to suppress weeds and pests. Incorporate cover crops into your crop rotation plan to provide a break in between cash crops.
4. Rotate crops with different nutrient needs: Different crops have different nutrient needs. To maintain soil fertility, it’s best to rotate crops with different nutrient requirements. For example, rotate heavy feeders like corn or tomatoes with light feeders like lettuce or beans.
5. Follow a multi-year crop rotation plan: A multi-year crop rotation plan involves rotating crops over several years, usually in a specific order. This allows for better management of soil fertility, pests, and diseases. A typical rotation might involve three to four years.
Companion Planting
Companion planting involves planting different crops together that benefit each other. For example, planting beans with corn can help to improve the nitrogen content in the soil, which can benefit both crops. Similarly, planting herbs, with vegetables can help to repel pests and improve soil quality.
What are the rules of companion planting?
Although there is no strict set of rules for companion planting, there are some general guidelines that can be followed to make it more effective:
1. Plant crops that have complementary growing habits, such as tall plants with shallow roots grown alongside short plants with deep roots.
2. Grow crops that have different nutrient requirements to reduce competition for nutrients.
3. Plant crops that attract beneficial insects and repel harmful ones, such as planting marigolds alongside tomatoes to repel nematodes.
4. Rotate companion crops regularly to prevent the buildup of soil-borne diseases and pests.
5. Avoid planting crops that are known to be incompatible, such as planting onions and beans together.
6. Incorporate beneficial herbs such as basil and dill into your garden to help repel pests and improve soil health.
There are many resources available on companion planting, but it’s important to remember that not all plants will perform the same way in every garden or climate. It’s a good idea to test different companion plantings and take note of which combinations work best for your specific garden. More interesting information:
https://www.almanac.com/companion-planting-guide-vegetables
Soil disturbance
Soil disturbance can have a significant impact on the health of soil. Excessive tilling, for example, can break up soil structure, disrupt soil microorganisms, and cause soil erosion. This can lead to reduced soil fertility, increased soil compaction, and decreased water-holding capacity, which can negatively impact plant growth and overall garden health.
Tillage is a human-induced form of soil disturbance that does not occur naturally in most ecosystems. In permaculture and organic gardening, a focus on minimal soil disturbance is important for maintaining soil health.
Practices such as no-till or low-till gardening, cover cropping, and mulching can help to build healthy soil structure, increase organic matter, and encourage beneficial soil microorganisms. These practices promote healthy root growth, improve water retention, and increase soil fertility, which can lead to stronger, more resilient plants and a healthier garden ecosystem.
No dig gardening rules:
No-dig gardening is a method of gardening that involves creating and maintaining a healthy soil ecosystem without disturbing the soil through tillage or digging. Here are some basic rules for successful no-dig gardening:
1. Start with a clean and weed-free garden bed.
2. Cover the soil with a layer of organic matter, such as compost or well-rotted manure, to a depth of 2-3 inches (5-8 cm).
3. Add a layer of mulch, such as straw or leaves, on top of the organic matter to suppress weeds and retain moisture.
4. Plant directly into the mulch layer by creating holes or pockets in the mulch and adding soil or compost around the plant roots.
5. Add additional layers of organic matter and mulch throughout the growing season to continue building healthy soil.
6. Avoid walking on the garden bed to prevent soil compaction and maintain soil structure.
7. Rotate crops each season to prevent soil-borne diseases and pests.
Order a garden design that prioritizes soil health and sustainability:
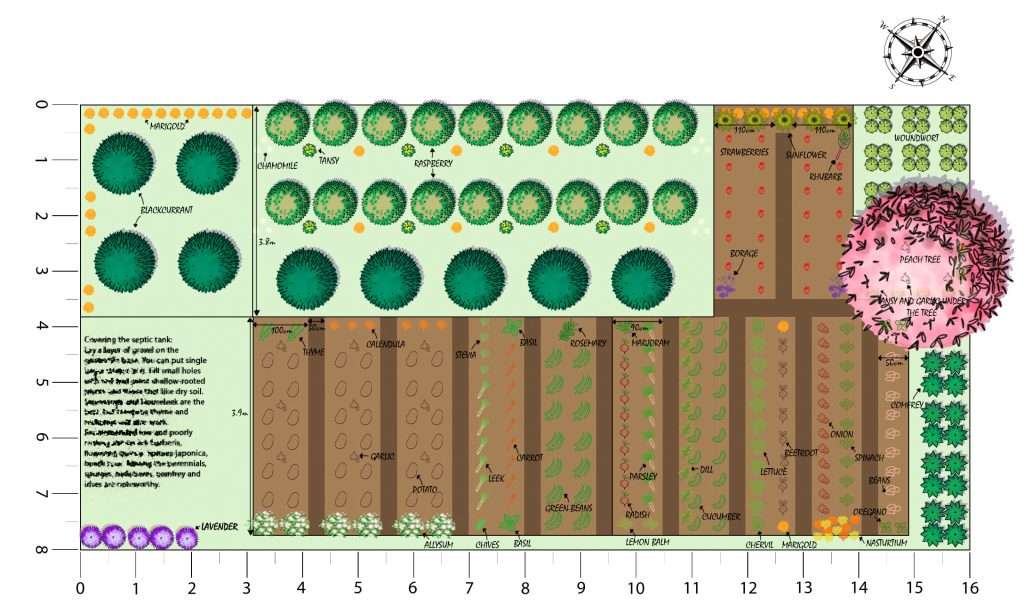
Designing a garden that prioritizes soil health and sustainability can be a daunting task, especially for those who are new to gardening. It requires knowledge of soil composition, nutrient management, companion planting, organic pest management and crop rotation, among other things. However, with the help of a professional garden designer, you can achieve a beautiful and productive garden that also promotes soil health and sustainability.
A garden designer can work with you to create a customized plan that takes into account the unique characteristics of your soil and local climate, as well as your personal preferences and gardening goals. They can recommend suitable plants and techniques for improving soil health, such as cover cropping, composting, and mulching. By investing in a garden design that prioritizes soil health and sustainability, you can enjoy a more productive and beautiful garden that benefits both you and the environment.
Order a Professional Permaculture Garden Design
Conclusion
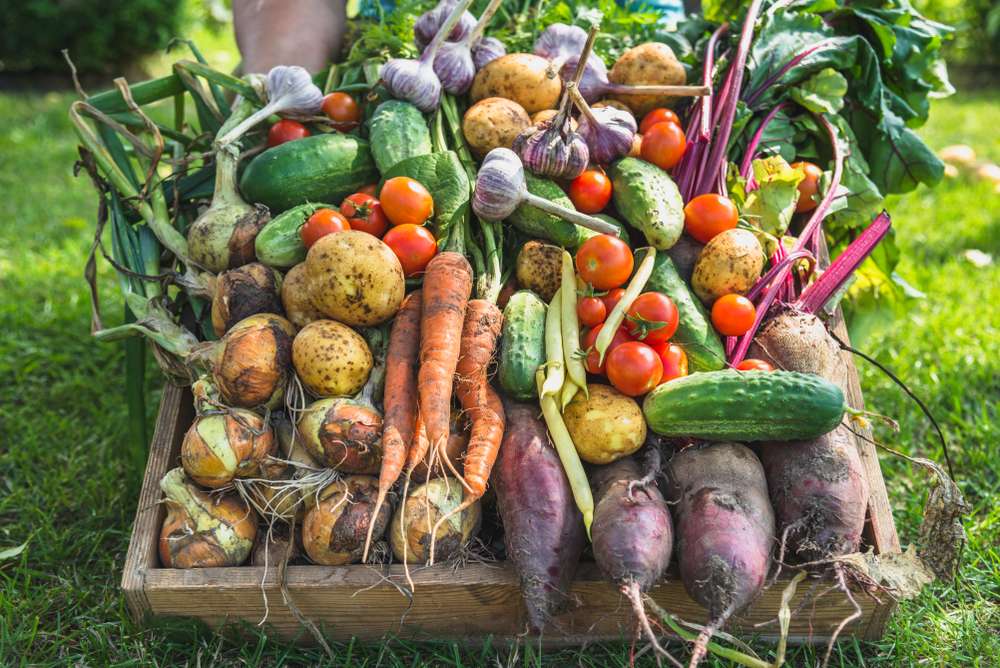
Growing your own vegetables is a rewarding experience, but it requires some effort to ensure that the vegetables are packed with nutrients. Nutrient-rich soil is the key to growing nutrient dense vegetables. Soil testing, adding organic matter, mulching, crop rotation, and companion planting are all techniques that can help to improve soil quality and increase the nutrient content of vegetables.
In addition to these techniques, hiring a professional permaculture designer can take your vegetable garden to the next level. A permaculture designer can help you create a garden that is not only nutrient-dense but also sustainable, self-sufficient, and tailored to your specific needs and goals. They can also help you learn about natural pest management, rainwater harvesting, and other innovative practices that can further enhance your garden’s health and productivity.
Don’t settle for average, make your vegetable garden exceptional!
Your posts stand out from other sites I’ve read stuff from. Keep doing what you’re doing!
Thank you so much for your encouraging words! I appreciate your support and will definitely keep striving to provide unique and valuable content!
Superb and well-thought-out content!
Thank you!
This was a very good post.
Appreciate the recommendation. Will try it out.
For anyone who hopes to find valuable information on that topic, right here is the perfect blog I would highly recommend.
Good blog post. I absolutely appreciate this site.
Keep writing!
Very accurate info… Thanks for sharing this one. A must read article!
Hi! Would you mind if I share your blog with my myspace group?
There’s a lot of folks that I think would really
enjoy your content. Please let me know. Thank you
Certainly, feel free to share my blog with your MySpace group. I appreciate your interest and am glad to hear the content may be valuable to others. Thank you for reaching out!
I just like the valuable information you provide in your articles.
I’ll bookmark your weblog and test once more right here regularly.
I am fairly certain I’ll learn lots of new stuff proper right here!
Good luck for the following!
Thank you so much for your kind words! I’m thrilled to hear you find the information valuable. I’ll work on providing useful content, and I appreciate your support. Looking forward to having you here—good luck to you as well!