
Are you tired of the endless toil and backaches that come with maintaining a thriving garden? No-dig gardening is a technique that involves creating a garden bed without tilling or digging the soil.
It has become a popular method among gardeners, promising great results with less effort. But is it really true? In this blog post, we will explore the concept of no-dig gardening and examine whether or not it requires less effort than traditional gardening methods.
By the end of this post, you will have a better understanding of what no-dig gardening is and be able to make an informed decision about whether or not it is the right method for you.
Let’s dive in!
- Sheet Mulching
- How to start no-dig gardening with sheet mulching method?
- Pros and Cons of Sheet Mulching
- Pros of Sheet Mulching:
- Cons of Sheet Mulching:
- Raised Bed Gardening
- How to start raised bed gardening?
- When raised beds are better than traditional dig gardening?
- Pros and Cons of Raised Beds Gardening
- Pros of Raised Beds:
- Cons of Raised Beds:
- Traditional Gardening
- Key Aspects of Traditional Gardening
- Comparison with No-Dig Gardening:
- Conclusion:
- Learn more:
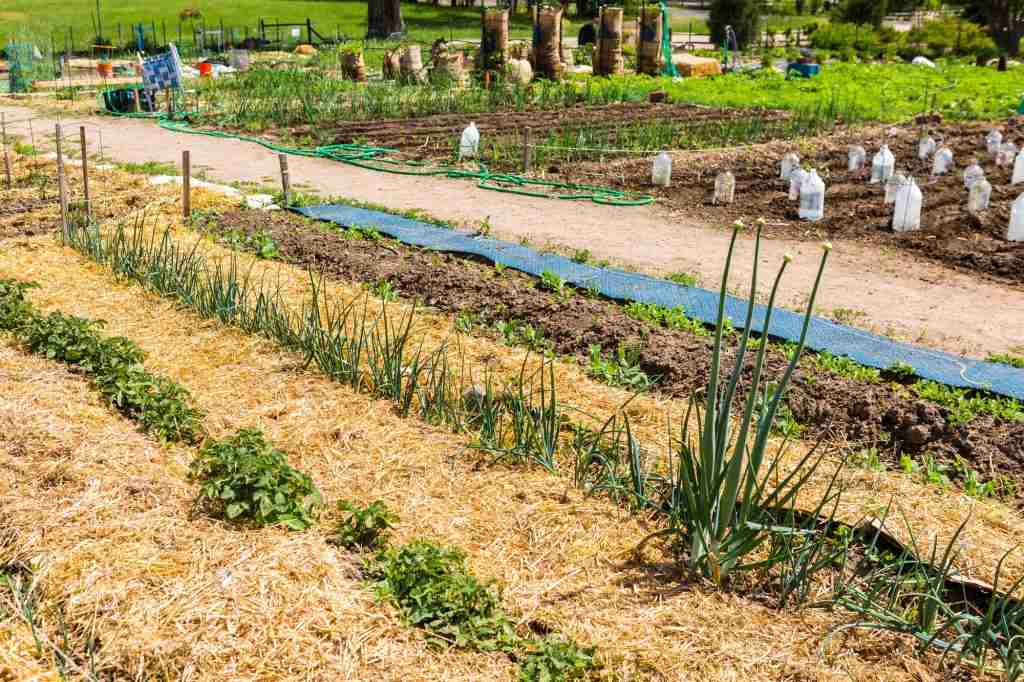
Sheet Mulching
Sheet mulching is a technique that involves layering organic materials directly on top of the soil to create a fertile growing environment. It attempts to mimic the natural soil-building process in forests. Here’s a step-by-step breakdown:
How to start no-dig gardening with sheet mulching method?
1. Prepare the Site:
- Choose a location for your garden that receives plenty of sunlight and has good drainage.
- Clear the area of existing vegetation, particularly invasive species, and remove weeds and grass. Alternatively, if there are no highly invasive species growing there, you can simply cut the grass short and proceed to the next steps.
- Ensure the soil is moist, as it facilitates decomposition and nutrient absorption.
2. Lay Down Cardboard or Newspaper:
- Place a thick layer, approximately 1/2 inch (1.3 cm) in thickness, of clear cardboard or several sheets of newspaper directly on the cleared ground. This will help suppress any remaining weeds or grass.
- Overlap the edges to prevent weed growth.
- Wet the cardboard or newspaper thoroughly.
3. Add Organic Materials:
- You can add layers of organic matter such as compost, straw or hay, leaves, grass clippings, well-rotted animal manure or wood chips.
- Aim for a depth of 3 to 6 inches (7.6 to 15.2 cm), ensuring proper aeration and moisture retention.
Example of layering materials:
- Add a layer of compost on top of the cardboard or newspaper. This should be around 2-3 inches (5 to 7.5 cm) thick.
- Secondly add a layer of straw on top of the compost. This should also be around 2-3 (5 to 7.5 cm) inches thick.
- Following with a layer of manure or other organic material on top of the straw. This should be around 1 inch (2.5 cm) thick.
- Next add another layer of compost on top of the manure. This should be around 2-3 (5 to 7.5 cm) inches thick.
- Finish with a layer of mulch on top of the compost. This should be around 1 inch (2.5 cm) thick.
4. Alternate Layers:
- Continue layering cardboard or newspaper and organic materials, alternating between them.
- Each layer should be approximately 3 to 6 (7.6 to 15.2 cm) inches thick.
- Add nitrogen-rich materials, like kitchen scraps or fresh grass clippings, to speed up decomposition and provide essential nutrients.
5. Water and Mulch:
- Thoroughly water the layers to promote decomposition and ensure proper moisture levels.
- Remember to balance the nitrogen-rich materials with carbon-rich materials, to maintain a proper carbon-to-nitrogen ratio for effective decomposition and nutrient availability.
6. Planting:
- If you are planting perennials, you can lay down the sheet mulch first and plant whenever you are ready.
- If you are planting annual crops, you need to let the sheet mulch decompose in place for a few months up to a year before planting.
- Some plants like potatoes and squash may do well when planted right away, but other plants may not.
- When planting, cut holes through the cardboard for roots to go through or cut an X in the cardboard under seedlings.
- Fill the hole with compost and plant the seedling into the filled hole.
https://www.youtube.com/watch?v=0LH6-w57Slw&t=992s
Pros and Cons of Sheet Mulching
Pros of Sheet Mulching:
- Low-maintenance: Requires less water, fertilizer, less physical effort and time spent weeding.
- Fewer weeds: Sheet mulching is highly effective at suppressing weeds. By layering organic materials such as cardboard, newspaper, or mulch over the ground, it creates a barrier that blocks sunlight and prevents weed growth. This method eliminates the need for extensive weeding and reduces ongoing maintenance.
- Healthier soil: Tilling or digging into the soil can disrupt the natural ecosystem and lead to soil compaction. No dig gardening allows the soil to maintain its natural structure, encourages the growth of beneficial microorganisms and increases moisture retention. The organic materials used in the layers break down and decompose, providing a constant supply of nutrients to the soil.
- Fewer pests: No dig gardening can attract fewer harmful insects than traditional gardening methods, as the plants are healthier overall and have more stable connections with soil life-forms that offer protection from attack.
- Higher yields: No dig gardening can result in higher yields than traditional gardening methods.
- Water Conservation: Sheet mulching helps conserve water by reducing evaporation from the soil surface. The layers of organic materials act as a natural mulch, keeping the soil moist and reducing the need for frequent watering. This is particularly beneficial in arid or drought-prone regions.
- Erosion control: Sheet mulching creates a protective layer that absorbs and slows down the impact of raindrops, reducing the risk of soil washout or wind damage. This helps in minimizing the risk of nutrient loss and maintaining soil stability, making it particularly useful on slopes or in areas with heavy rainfall.
- Soil Protection: Sheet mulching creates a protective layer over the soil, shielding it from extreme temperatures and temperature fluctuations. This insulation effect helps to maintain a more stable and favorable environment for plant roots.
- Easy Implementation: Sheet mulching is relatively easy to implement, requiring minimal physical effort compared to traditional dig gardening. It is suitable for both small-scale and large-scale gardening projects and can be done by gardeners of all skill levels.
- Utilization of materials: Most materials required for sheet mulching can be collected at no cost.
- Sustainable Approach: Sheet mulching is an environmentally friendly gardening method. It reduces the use of synthetic fertilizers and pesticides, minimizes soil disturbance, and promotes the recycling of organic materials.
Cons of Sheet Mulching:
- Time-consuming: It can take six months or longer for the layers to break down into fertile, healthy soil ideal for planting. To overcome the initial time investment, plan and prepare the materials in advance. Gather cardboard, newspaper, compost, or other organic materials ahead of time so that they are readily available when you are ready to start sheet mulching.
- May attracts pests: Decomposing straw or grass can attract slugs to move in, so it’s important to choose the right type of mulch for the climate. Avoid creating excessively thick or dense mulch layers, as these can provide hiding places for pests. Maintain a balanced ratio of carbon and nitrogen-rich materials to facilitate decomposition.
- Material availability: Finding enough materials to create thick layers can be challenging.
- Weed seeds: In some cases nitrogen rich materials may contain weed seeds that can survive the mulching process and potentially germinate. To minimize the risk use well-composted or aged organic matter. Additionally, source materials from reputable suppliers who offer weed seed-free mulch.
- Sour mulch: If the mulch gets too compressed, it can cause anaerobic decomposition, turning the soil acidic and damaging plants. Avoid piling mulch too thickly or tightly against plant stems. Leave some space around the base of plants to allow for airflow and prevent excessive moisture buildup
- Need for designated pathways: No dig gardening requires designated pathways to prevent people and animals from traipsing through the garden beds.
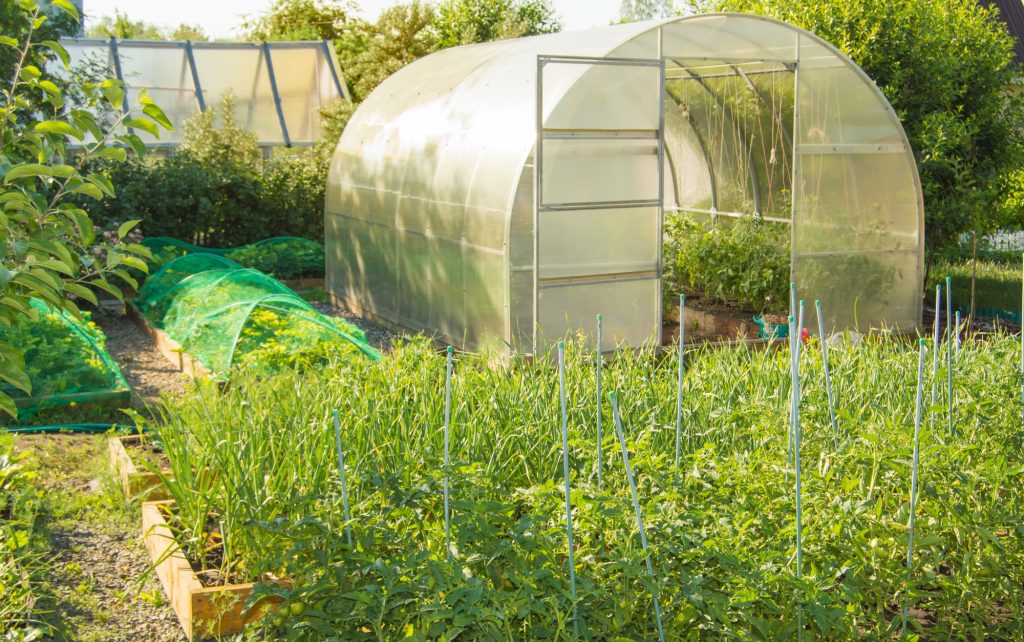
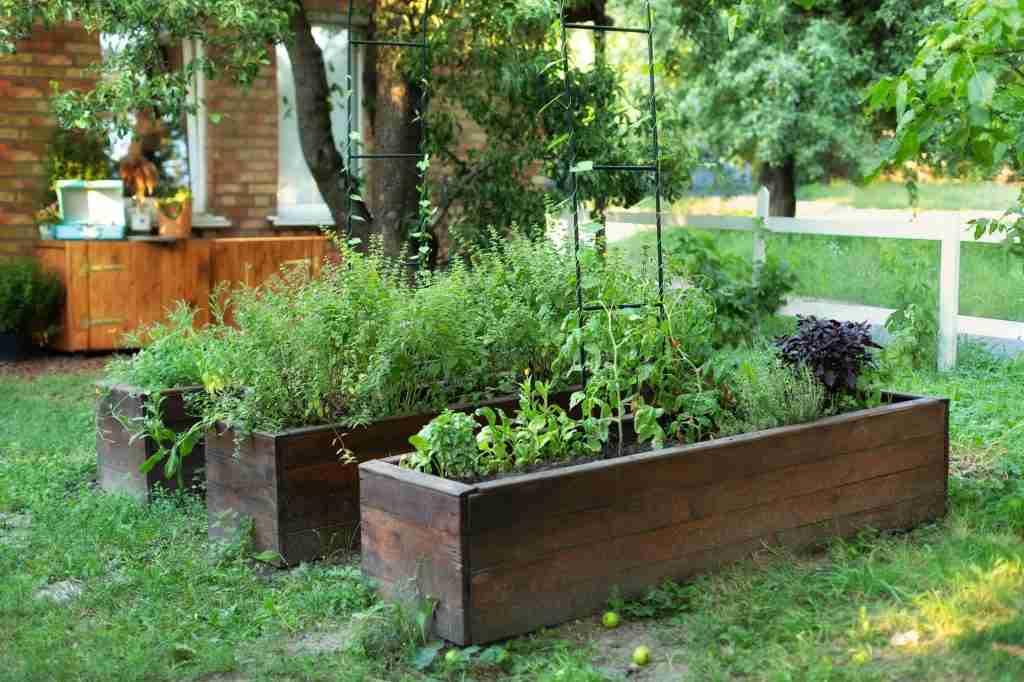
Raised Bed Gardening
Raised bed gardening involves creating elevated garden beds filled with a nutrient-rich soil mix. This method is particularly suitable for compact or poor-quality soils.
How to start raised bed gardening?
1. Select a Location:
- Choose a sunny spot with good drainage for your raised bed.
- Ensure easy access for watering and maintenance.
2. Determine the Bed Size and Shape:
- Decide on the dimensions of your raised bed, keeping in mind the reachability of plants from all sides.
- Popular shapes include rectangular, square, or circular beds.
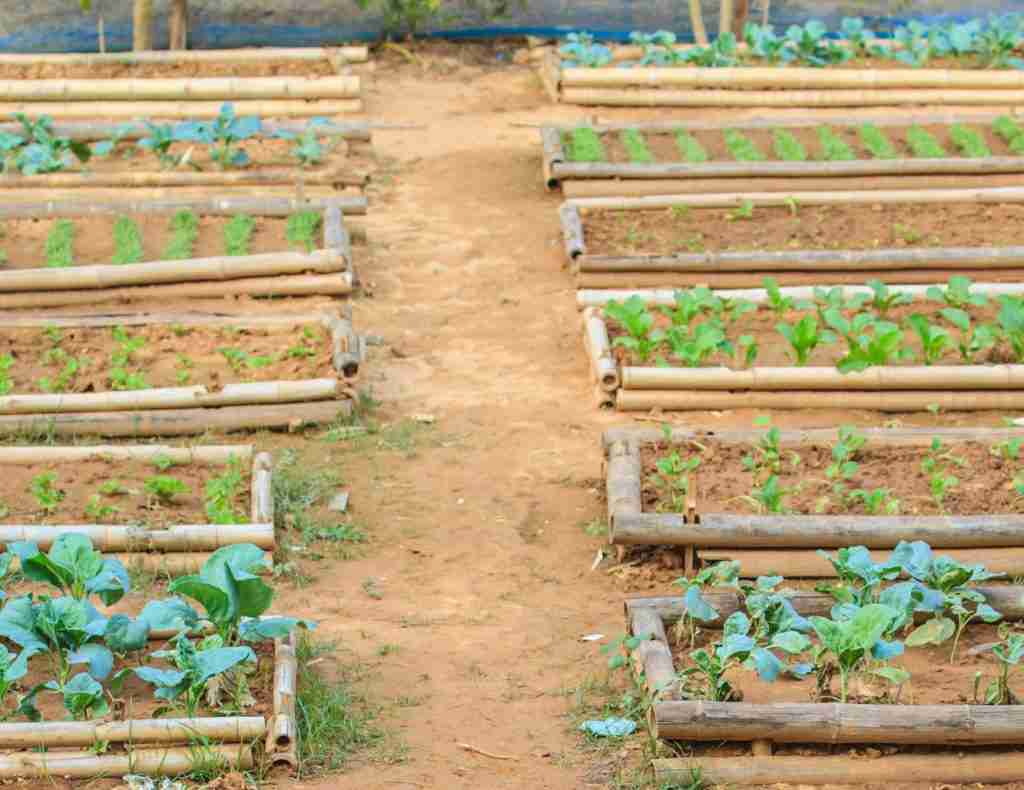
3. Construct the Raised Bed:
- Build the frame using untreated lumber, bricks, or other suitable materials.
- The standard height is around 12 to 24 inches (30.5 to 61 cm), but it can vary depending on your preference and accessibility needs.
4. Prepare the Area:
- Remove any grass, weeds, or debris from the bed location.
- Loosen the underlying soil slightly, allowing for drainage.
5. Fill the Bed:
- Layer the raised bed with a blend of high-quality soil, compost, and aged manure.
- Aim for a loose, well-draining soil mixture that provides adequate nutrients for plant growth.
6. Planting:
- Plant seeds or transplants directly into the prepared soil of the raised bed, following the recommended spacing and depth for each crop.
- Water the bed thoroughly after planting, and monitor moisture levels throughout the growing season.
When raised beds are better than traditional dig gardening?
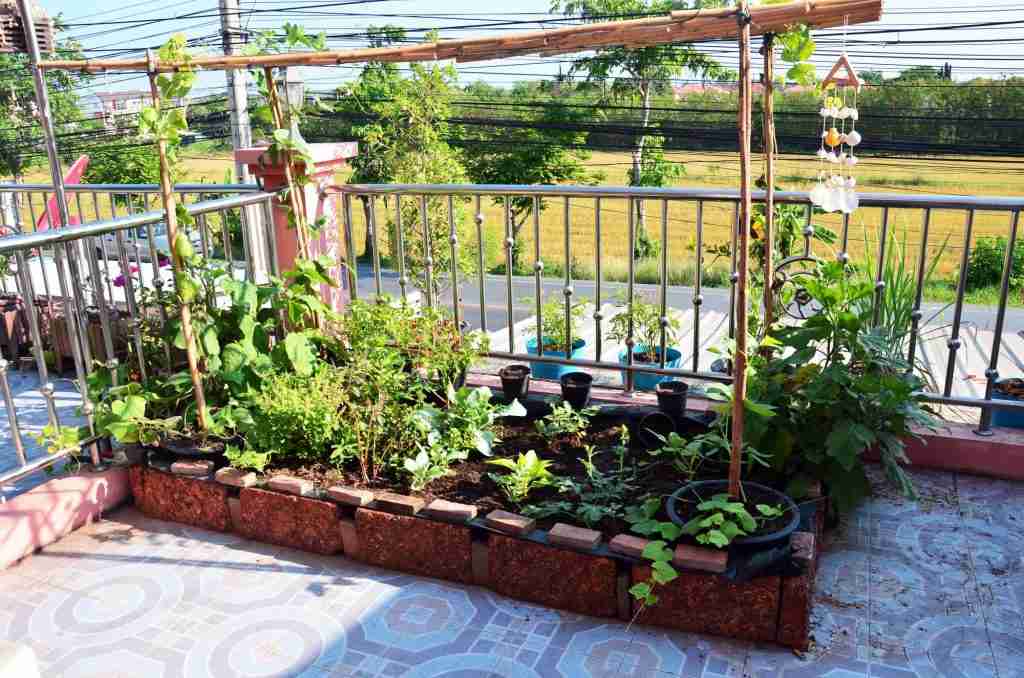
1. Garden beds are ideal for small spaces, such as urban gardens or balconies, where there may be restrictions on the amount of available soil or limited access to the ground. Raised beds allow gardening in areas with concrete or poor-quality soil by building them on top of existing surfaces.
2. If the native soil in your garden is of poor quality, contaminated, or compacted, garden beds offer a solution. You can fill the raised beds with high-quality soil mixtures, creating a fertile and well-drained environment for plant growth.
3. Garden beds are beneficial in areas with heavy rainfall or poor drainage. By elevating the beds and incorporating proper drainage systems, you can prevent waterlogging and root rot. This is particularly advantageous for plants that are sensitive to excessive moisture.

4. Raised beds provide a more accessible gardening experience, especially for people with mobility issues or those who prefer to minimize bending and kneeling. The elevated height of the beds reduces strain on the back and knees, making it easier to plant, tend, and harvest crops.
Pros and Cons of Raised Beds Gardening
Pros of Raised Beds:
1. Better Soil Drainage: Raised beds allow for better soil drainage, which can be especially important in areas with heavy rainfall. Excess water drains away from the plants, reducing the risk of waterlogging and root rot.
2. Higher Yields: Raised beds can produce higher yields than traditional gardens because the soil is richer and better aerated. This can be especially true in areas with poor soil quality. The soil in raised beds is loose and friable, allowing for better root growth and higher yields.
3. Enhanced Weed Control: The defined space of raised beds makes it easier to manage and control weeds. You can prevent weed growth by using mulch, or regularly removing weeds from the contained area.
4. Control of Soil Quality: Using raised beds allows you to control the quality of the soil used for planting, which can lead to healthier plants and higher yields. This can be a solution for gardening in areas where the soil is contaminated by heavy metals, pollutants, or other harmful substances.
5. Easier Access: Raised beds can be easier on your back and knees since they require less bending and stooping, which can be especially useful for people with physical limitations.
6. Longer Growing Season: Raised beds tend to warm up faster in the spring, allowing for earlier planting, extending the growing season, and enabling an earlier harvest. The elevated position can also offer better air circulation and sun exposure for plants.
7. Pest Control: Raised beds are easier to protect from pests, especially ground-dwelling ones like slugs and snails. They also provide better air circulation, reducing the risk of fungal diseases and making it harder for pests like aphids to establish populations.
Cons of Raised Beds:
1. Cost: Raised beds can be more expensive to set up than traditional in-ground gardening due to the cost of materials and soil. However, there are ways to reduce the cost, such as using recycled materials like old pallets or scrap wood. Additionally, the initial investment can be offset by the long-term benefits of raised bed gardening, such as increased yields and easier maintenance.
2. Limited Space: Raised beds take up space, which can be a disadvantage if you have a small yard or limited garden space. However, raised beds can also be used in conjunction with other gardening methods, such as container gardening or vertical gardening, to maximize space.
3. Soil Drying Out: Raised beds can dry out faster than traditional gardens, which means you may need to water more frequently. Solutions to this problem include adding mulch, using a soaker hose or drip irrigation system.
4. Soil heating up: Raised beds can also heat up faster in the summer, which can lead to stress on plants if not properly managed. Soil in raised beds can heat up more than soil in traditional gardens, which can be a disadvantage in hot weather. To help prevent this, consider using a light-colored mulch or shade cloth to reflect sunlight and reduce soil temperature.
5. Maintenance: Raised beds require regular maintenance, such as adding compost, but the difference compared to traditional gardening is not significant since compost is also added in traditional gardening. One solution is to make your own compost by composting yard waste, kitchen scraps, and other organic materials.
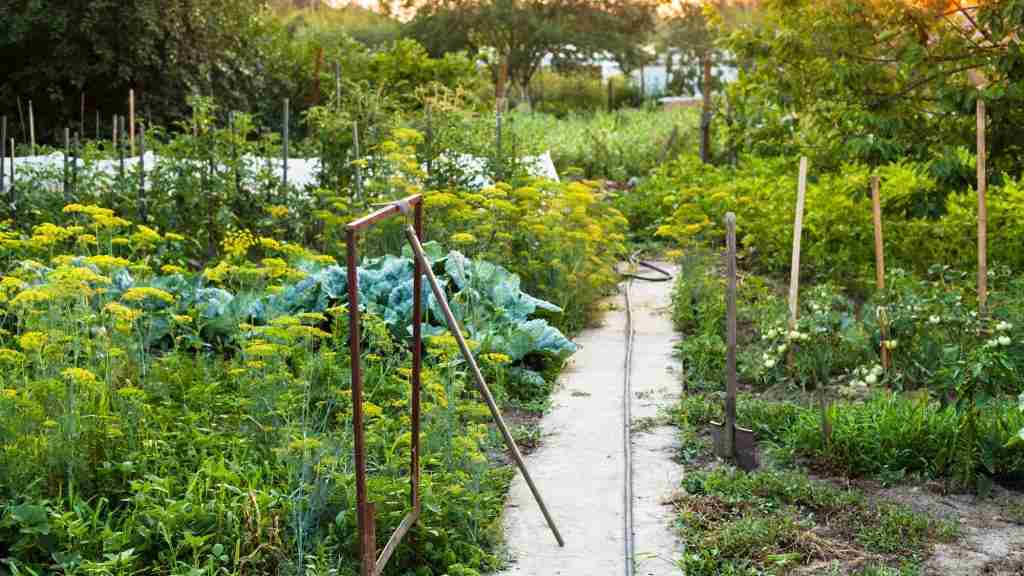
Traditional Gardening
Traditional gardening is a conventional horticultural practice that involves the cultivation of soil through processes such as tilling and turning the soil before planting.
Key Aspects of Traditional Gardening
1. Soil Disturbance: Traditional gardening relies on the disturbance of the soil structure. This practice helps in loosening the soil, improving drainage, and incorporating organic matter.
2. Weed Control: Tilling is often used to control weeds by disrupting their growth and burying them. However, this can also bring dormant weed seeds to the surface, leading to potential weed problems.
3. Nutrient Distribution: Mixing in fertilizers and compost during tilling is a common practice to ensure an even distribution of nutrients throughout the soil.
Comparison with No-Dig Gardening:
1. Labor Intensity:
- Traditional Gardening: Labor-intensive due to frequent soil preparation, requiring significant effort and time spent on tilling and turning the soil. This process requires physical effort, especially when breaking up compacted soil or preparing large areas for planting.
- No-Dig Gardening: Generally requires less labor as it avoids extensive soil disturbance, making it an attractive option for those seeking a more time-efficient approach.
2. Soil Structure:
- Traditional Gardening: Frequent tilling can disrupt natural soil structure, potentially causing compaction. However, incorporating organic matter into the soil which is already compacted is a common practice to enhance overall soil structure and enable for transition to no-dig gardening.
- No-Dig Gardening: Preserves the existing soil structure by avoiding extensive digging, promoting better water retention and aeration.
3. Soil Health:
- Traditional Gardening: Intensive soil disturbance may disrupt the beneficial microbial communities, affecting the overall health of the soil ecosystem.
- No-Dig Gardening: Aims to protect and enhance microbial activity, fostering a more diverse and balanced soil environment.
4. Weed Management:
- Traditional Gardening: While tilling helps control weeds initially, it may bring dormant weed seeds to the surface, leading to ongoing weed challenges.
- No-Dig Gardening: Relies on mulching to suppress weed growth, reducing the need for constant soil disturbance and minimizing weed germination.
5. Soil Structure:
- Traditional Gardening: Involves frequent soil disturbance through tilling, which can disrupt the natural soil structure, potentially leading to compaction over time.
- No-Dig Gardening: Preserves the existing soil structure by avoiding extensive digging, promoting better water retention and aeration.
6. Environmental Impact:
- Traditional Gardening: Tilling contributes to soil erosion, releases stored carbon, and can negatively impact soil structure over time.
- No-Dig Gardening: Focuses on maintaining the ecological balance of the soil, often resulting in less environmental impact and a more sustainable gardening practice.
7. Water Conservation:
- Traditional Gardening: Frequent soil disturbance can lead to increased water evaporation and reduced water retention. However, adding organic matter can improve water-holding capacity.
- No-Dig Gardening: Mulching helps conserve soil moisture, reducing the need for frequent watering and promoting water efficiency.
8. Erosion Control:
- Traditional Gardening: Tilled soil is more susceptible to erosion, especially in areas with slopes or heavy rainfall.
- No-Dig Gardening: Preserving the topsoil structure aids in erosion control, making it a preferred choice for gardens in vulnerable landscapes.
9. Fertility Management:
- Traditional Gardening: Relies on the periodic incorporation of fertilizers and compost during tilling to maintain soil fertility. Additionally, adding organic matter improves fertility.
- No-Dig Gardening: Utilizes organic mulch to enhance fertility gradually, providing a more sustainable and natural approach to nutrient management.
Conclusion:
No-dig gardening offers an efficient and sustainable approach to cultivating your own food or creating ornamental gardens. By embracing methods like sheet mulching, raised bed gardening, or container gardening, you can reduce labor, improve soil health, and enjoy the benefits of a thriving garden.
As a strong advocate of no-dig gardening, I consistently recommend it to clients for its numerous benefits. However, it’s essential to strike a balanced approach. While no-dig gardening is a preferred method, occasional soil disturbance may be necessary. Avoid becoming overly rigid about adhering to a no-dig philosophy; instead, consider it a flexible guideline.
Explore different gardening techniques to align with your gardening style and available space. No-dig gardening, when implemented thoughtfully, yields a bountiful harvest with minimal effort, fostering a healthier and more resilient ecosystem for your garden.
As someone still navigating this field, I find your posts really helpful.
Thank you! I’m so glad to hear the posts have been helpful. I’ll actually be creating more content tailored for those who are building their foundation, so stay tuned—hope it’ll be useful for you!
Hello, Jack speaking. I’ve bookmarked your site and make it a habit to check in daily. The information is top-notch, and I appreciate your efforts.
Hi Jack, thank you so much for your kind words and for bookmarking the site! I’m really glad to hear that you find the information valuable.